Categories
Blog

Speccy Pi Update

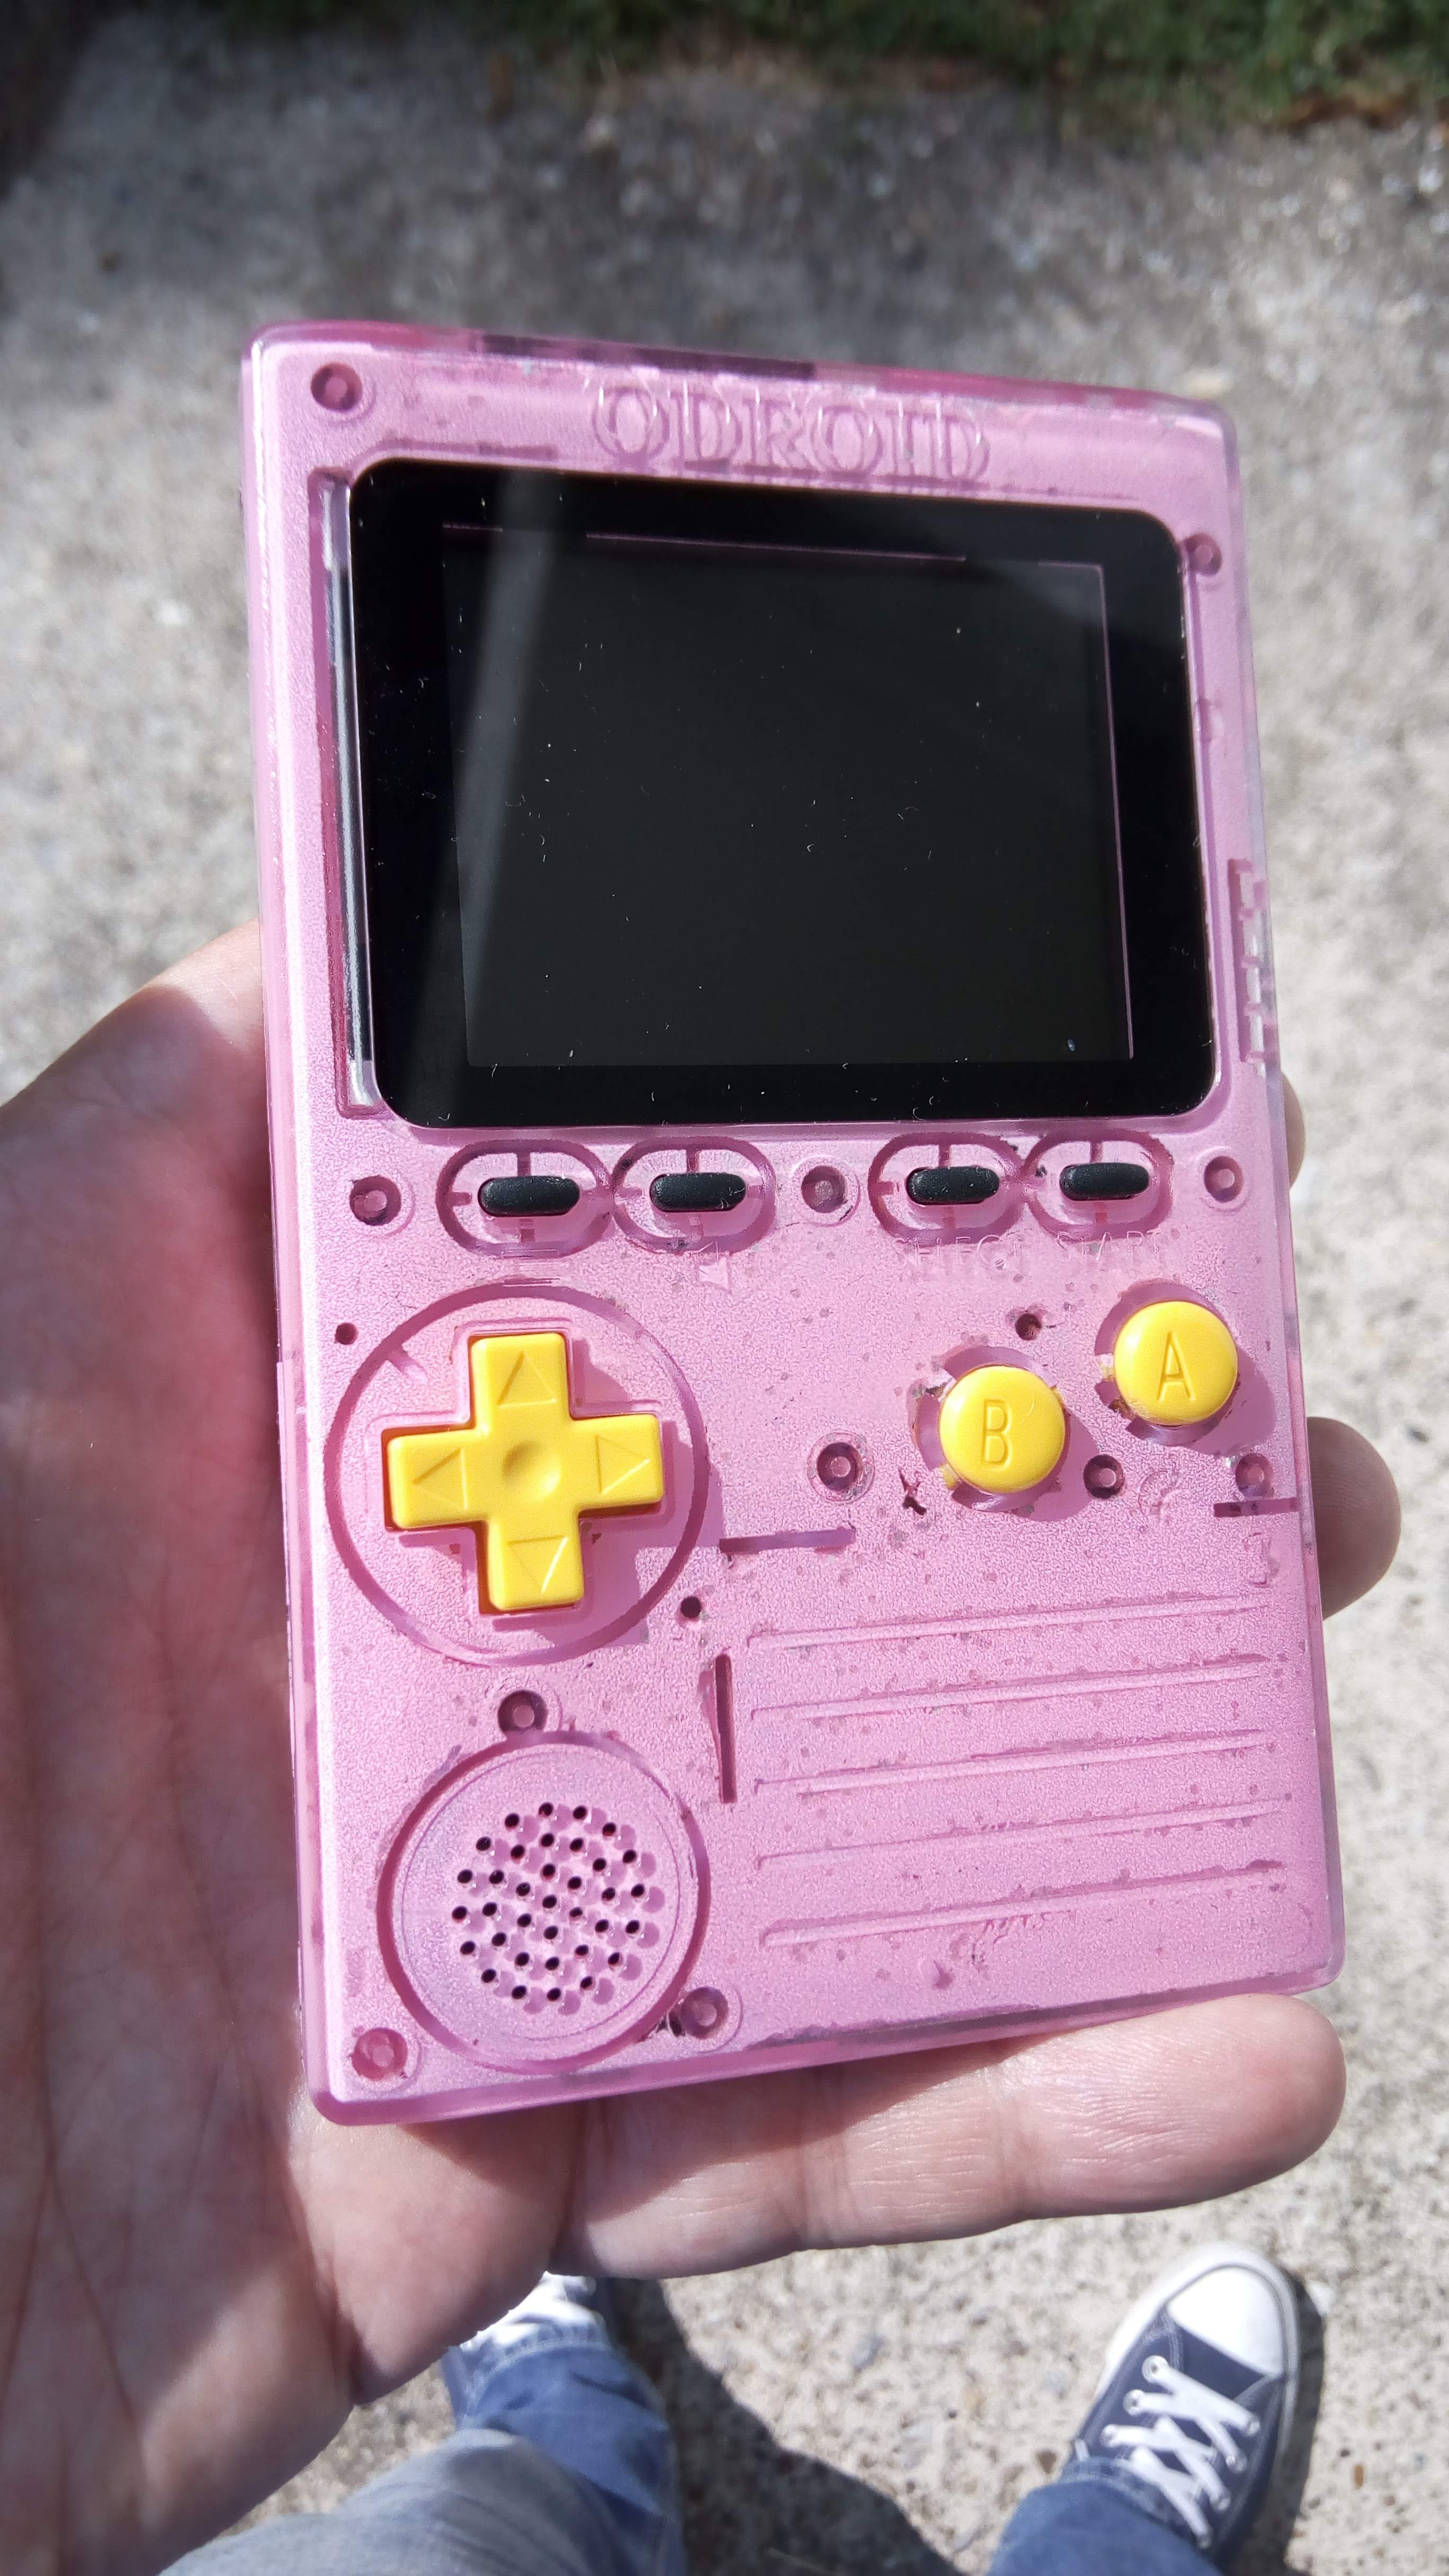
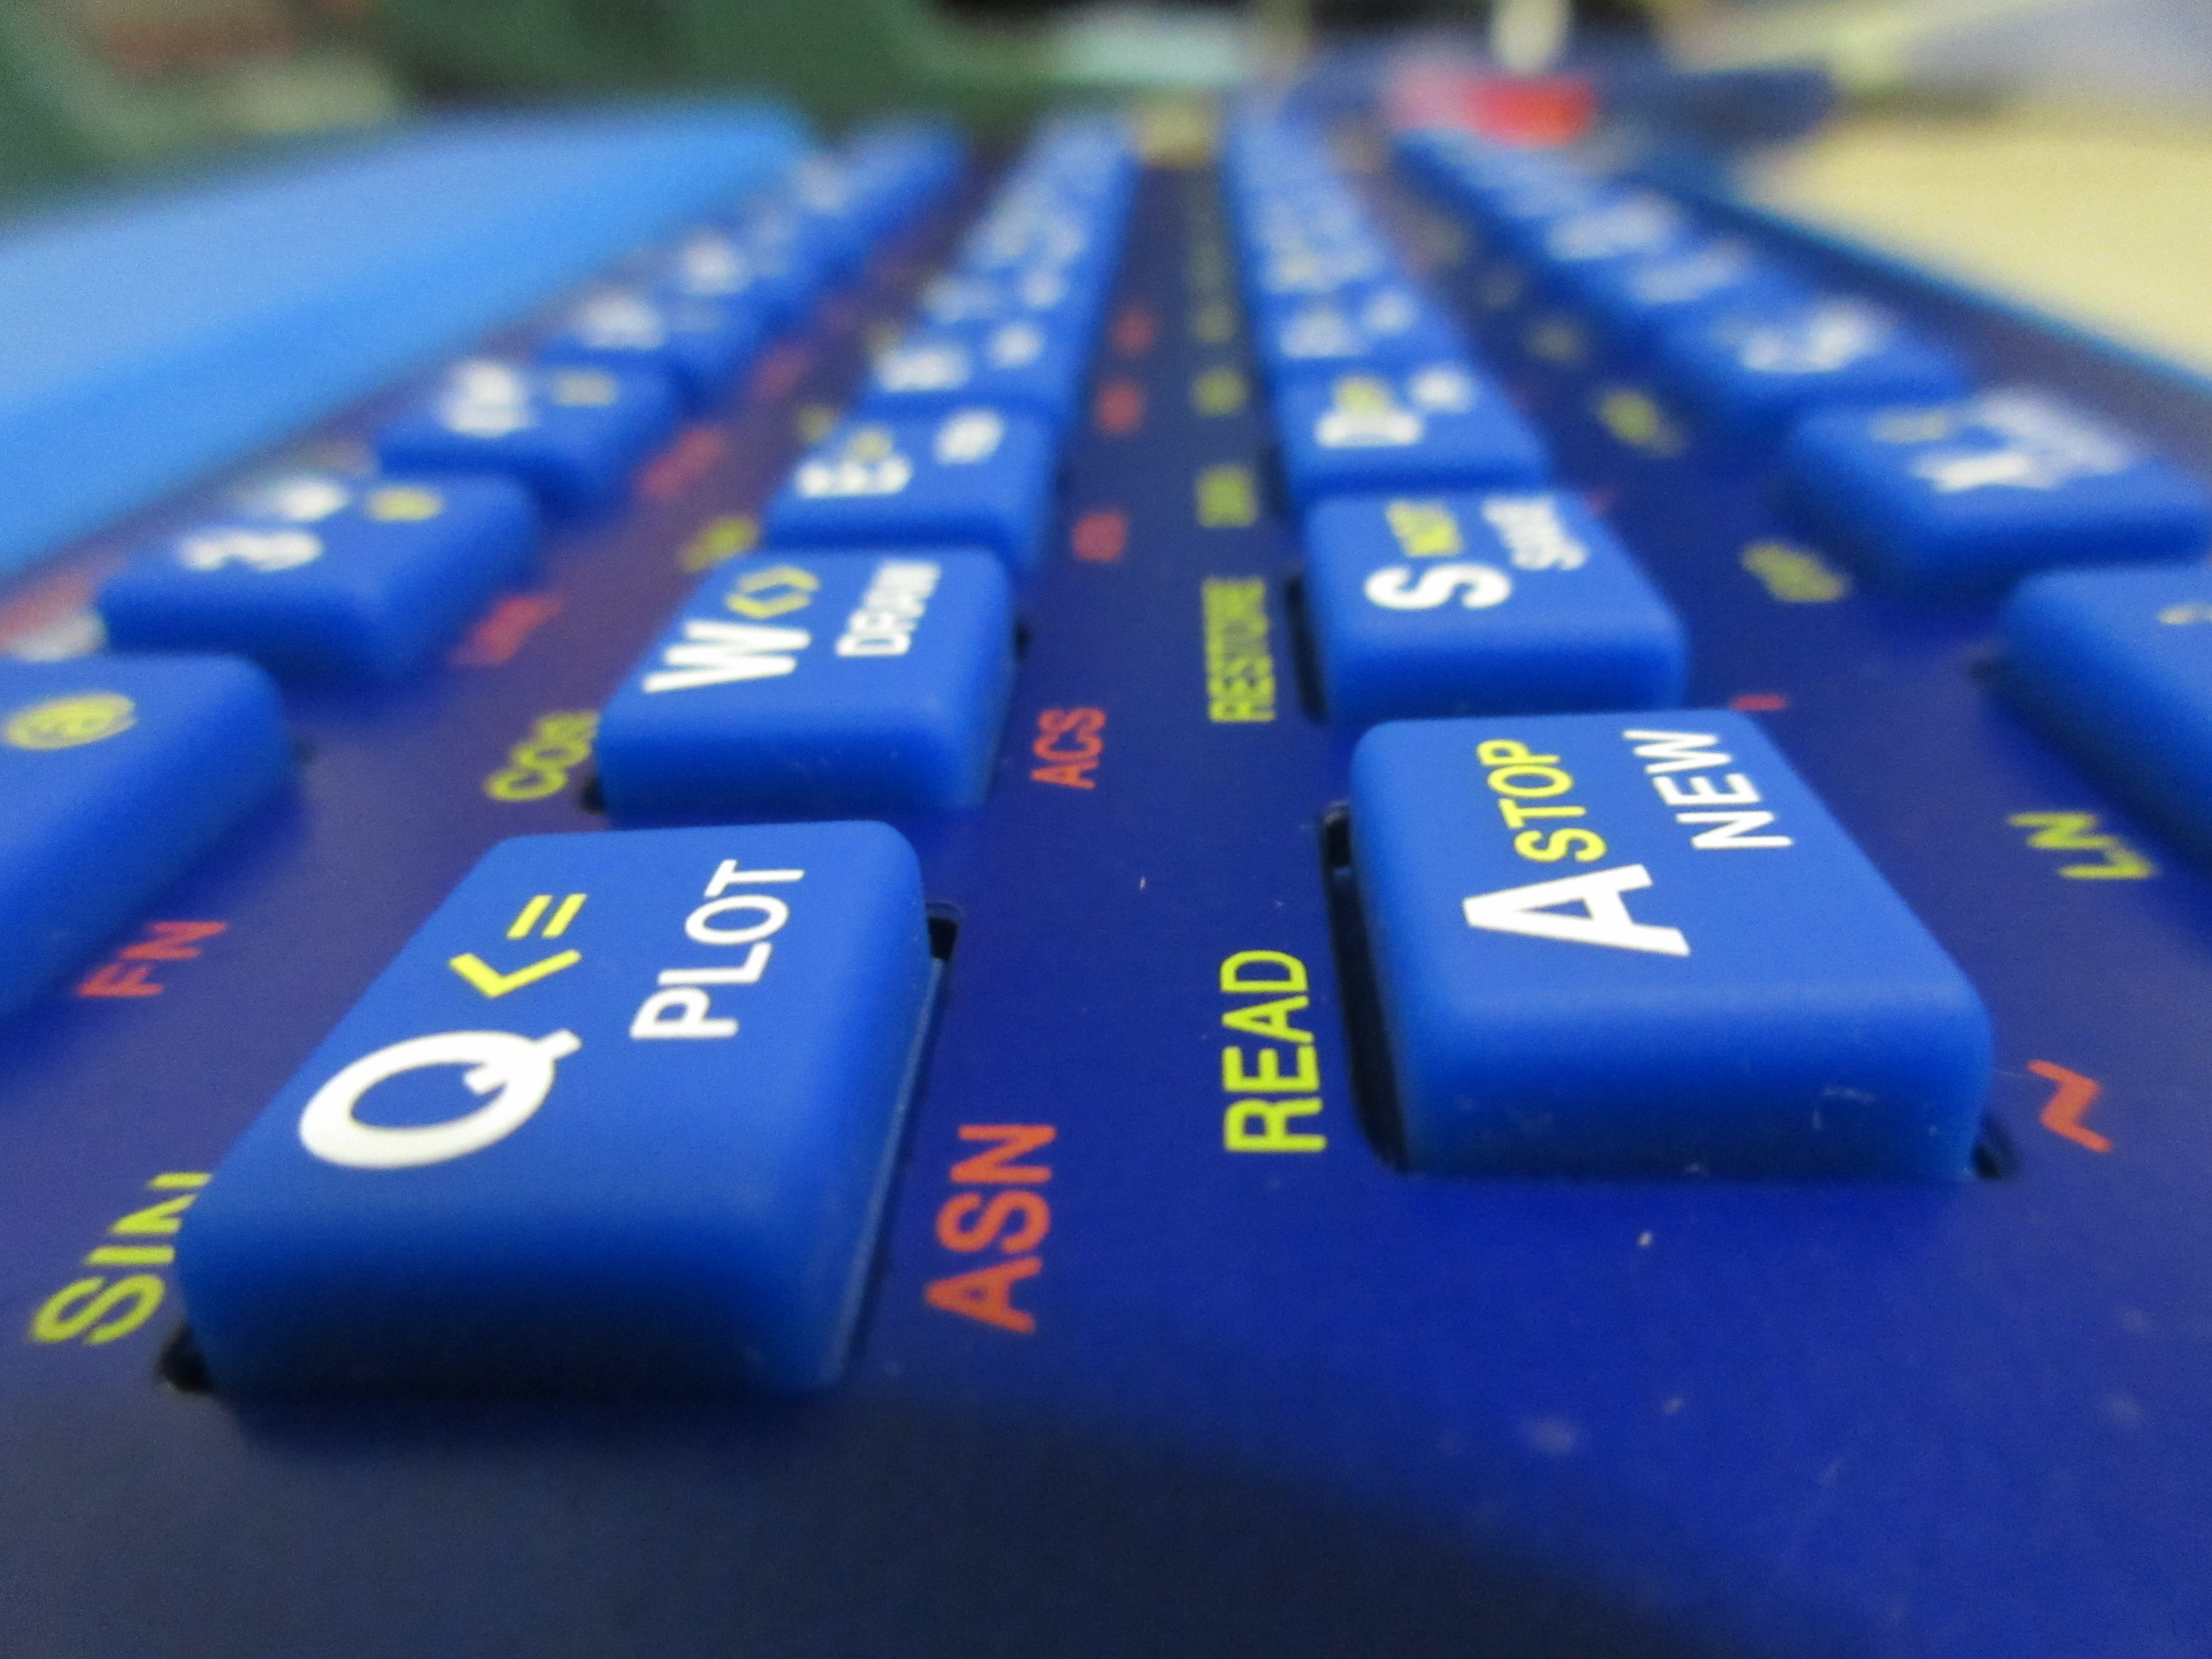
Recently I’ve been trying to get my Spectrum keyboard to work as an actual device rather than via a Python script. I found this guide to making a matrix keypad work and with a few modifications and a LOT of trail and error I have it basically working.

A couple of drawbacks first:

  1. I’ve only got this working with stock Raspbian so far. The Retropie image doesn’t seem to recognize the keyboard.
  2. No option to switch between key layouts yet. The documentation does reference the possibility of mapping alternate mapping for something like a Fn key but it isn’t specific.

The guide I followed had a big chunk on compiling a new kernel to get this to work. There is no need now as Raspbian has it as default.

First take this code and create speccypi.dts

/dts-v1/;
    /plugin/;
    / {
           compatible = "brcm,bcm2835", "brcm,bcm2708", "brcm,bcm2709";

           fragment@0 {
              target-path = "/";
              __overlay__ {
                 keypad: SPECCYPI {
                    compatible = "gpio-matrix-keypad";
                    pinctrl-names = "default";
                    pinctrl-0 = <&keypad_pins>;
                    debounce-delay-ms = <10>;
                    col-scan-delay-us = <10>;
                    wakeup-source;
                    drive-inactive-cols;

                    col-gpios = <&gpio 26 0  
                                 &gpio 19 0  
                                 &gpio 13 0  
                                 &gpio 6 0	
                                 &gpio 5 0>;  

                    row-gpios = <&gpio 25 0   
                                 &gpio 24 0   
                                 &gpio 23 0   
                                 &gpio 22 0   
                                 &gpio 27 0   
                                 &gpio 18 0   
                                 &gpio 17 0   
                                 &gpio 4 0>; 

                    /*
                      Keycodes from /usr/include/linux/input-event-codes.h
                      converted to hex using printf '%02x\n'
                    */

                    linux,keymap = <

								0x00000002
								0x00010003
								0x00020004
								0x00030005
								0x00040006
								0x01000010
								0x01010011
								0x01020012
								0x01030013
								0x01040014
								0x0200001e
								0x0201001f
								0x02020020
								0x02030021
								0x02040022
								0x0300000b
								0x0301000a
								0x03020009
								0x03030008
								0x03040007
								0x04000019
								0x04010018
								0x04020017
								0x04030016
								0x04040015
								0x0500002a
								0x0501002c
								0x0502002d
								0x0503002e
								0x0504002f
								0x0600001c
								0x06010026
								0x06020025
								0x06030024
								0x06040023
								0x07000039
								0x0701001d
								0x07020032
								0x07030031
								0x07040030
>;

                 };
              };
           };
           
                   fragment@1 {
                target = <&gpio>;
                __overlay__ {
                        keypad_pins: keypad_pins {
                                brcm,pins = < 4 5 6 13 17 18 19 22 23 24 25 26 >;
                                brcm,function = <0>; // input
                                brcm,pull = <1>; // 0=off, 1=down, 2=up
                        };
                };
        };
           
           
      };

With this file somewhere on your Pi, we need to compile it.

dtc -W no-unit_address_vs_reg -I dts -O dtb -o speccypi.dtbo speccypi.dts

Copy the new file, speccypi.dtbo, to /boot/overlays/ then add the following line to the end of /boot/config.txt

dtoverlay=speccypi

I recommend taking a copy of the compiled file so this next time you make a new image you can copy it to the card before you put it in the Pi.

Reboot and the keyboard should work. As I said I’m at a loss as to how to do multiple keymaps and switching between them. I have some paternity leave coming up so I may do some more work on it then.

Categories
Blog

Fun with the ODROID GO

Box of fun

A few weeks ago I ordered the ODROID GO, a DIY handheld from Hardkernel to celebrate their 10 anniversary.

Nostalgia with coffee

There are plenty of videos online showing how to put it together quickly and easily, so here is one where me and my daughter Dot do it slowly and badly.

I had seen a lot of people modding their case for the GO so I gave it a go myself. Of course Dot insisted on it being pink. We had some leftover pink acrylic paint but I also applied some glitter glue first.

Sparkle Sparkle!

Now for the buttons. I had heard that the buttons for the Game Boy Color are a match for this so I ordered some on eBay. I thought either yellow or pink would match the pink so I ordered both.

The d-pad fitted straight away. The A and B buttons require one pin to be removed as they don’t line up quite right. After that they work as good as the originals.

Dot didn’t like the yellow so we tried the white. I like both but she’s happier with this one.

The only thing I’d like to do more is to replace the silicone buttons beneath the screen but the only place I can find them is Retromodding where the shipping would be 10USD. I may wait until after payday for that. I wish I had used them to get the other buttons too.

If I got another GO, I’d love to do it in black with detailing like the ZX Spectrum. This thing plays Speccy games perfectly and easily beats the infamous Vega+.

Categories
Blog

PI Spectrum

Ever since the Raspberry Pi came along, I have always wanted to put one inside the microcomputer of my youth, The Sinclair ZX Spectrum. This weekend I finally did it!

Replica Case

Through the Spectrum Next project, I discovered Retroradionics. They produce replacement cases for the 48k ZX Spectrum complete with faceplate, ‘dead flesh’ keys and keyboard membrane. Not only that, but they are in a wide range of colours to mix and match aside from the classic black and dark green.

I decided to go with an all blue selection. Unfortunately however by the time I ordered, Retroradionics and just completed a kickstarter for the Omni 128, a Spectrum clone in both desktop and laptop forms and so my order took 6 months to be shipped from China and another month to arrive to me in Croatia. When it did arrive I was really pleased and didn’t mind the wait.

Raspberry Pi Zero

Inspired by a series of blogs by P J Evans I dug out my Pi Zero for this project. He originally hooked up the keyboard membrane to an Arduino board which could connect to a full sized Raspberry Pi 2 as a USB keyboard. However the people he showed it to commented on the lag produced. And so he realized that he could wire up the keyboard directly to the GPIO connectors. I’ve done the same.

It’s a bit messy but I wasn’t sure how much I would have to move the membrane connectors so I kept plenty of ribbon cable. The ribbon was from an old floppy cable and the membrane connectors I ordered from a retro electronics supplier in the UK.

In the spot where the 9v power input would have been I added a button to switch keyboard modes. The Speccy has no Function keys but Fuse, the Spectrum emulator does need them for opening the menu. I also added 2 LEDs sticking out of the EAR and MIC ports. A red one is wired to a 3.3v pin to just be a power indicator and a green one turns on when the keyboard function is switched.

I’m pretty happy with how it has turned out. I have some ideas for improvements. One thing I think is possible is to put the Pi Zero in gadget mode and have it work as a USB keyboard when you plug it into a full PC.

The remaining hole on the back, originally for TV out looks to be just the right size for an Ethernet port but could also be for an actual TV output. I would have to change some pins around in order to get PCM sound out of the Pi Zero and into an internal speaker.

There could be enough pins for a classic DB9 joystick connector. Alternatively I could maybe piggyback 2 joysticks on the connections for the top row of keys like the ZX Interface 2 did.

Categories
Blog Development Teratree

PRISM: A library to simulate the ZX Spectrum display in LÖVE

I’ve done some refactoring and separated my display code into a simple library called PRISM. I’ll think of a funny backronym some day but it’s in reference to the Spectrum logo.

In a previous blog I talked about how I’m rendering the sprites to the screen. Since then I have added a way to dynamically rotate the sprites and to simulate the border and Attribute Clash of these old display methods.

Colour Clash

The displays of the early 8-bit machines often could only manage 2 colours per 8×8 pixel cell, so if 2 sprites overlapped the colours would change depending on which sprite was drawn last. There may be a better way to make this work but here is my method.

I have 3 canvases; paper, ink and sprite. Each are 256×192 pixels, the resolution of the original Spectrum display. When the sprite function is called it draws an 8×8 rectangle of the paper and ink colours to their respective canvas. Then the sprite itself is drawn in monochrome to the sprite canvas.

When the PRISM draw function is called it sets a custom shader I made and passes the ink and paper canvases to it before drawing the sprite canvas. The shader simply checks each sprite pixel and returns the colour of the same pixel from the ink canvas if the sprite pixel is white and the paper pixel colour if the sprite pixel is black.

It runs fine on my PC but I feel it needs a lot of optimization before it runs ok on mobile.

Download

You can grab my current version here. Zlib licence (same as LÖVE). Inside is a main.lua which runs the demo in the video above.

Categories
Blog Development Teratree

Editor coming together

I’ve been working on my level editor for Teratree. The video above will give you the basic idea of how it works.

All the world data is saved in one big nested table.

world
    name
    author
    cells
        room
            name
            tiles
                tile
                    name
                    ink
                    paper
                    bright
                    cells
                        sprites
            cells
                block
                    celltype
                    health

Each table called cells is a 2d array, the rooms in the world, blocks in the room and pixels in the sprites are all handled in the same way.

Currently the world table gets dumped to a lua file using this library but it’s not very human readable. I may work on a custom exporter when I’m happy with the format of the table.

Since the video I’ve added the ability to change the text like the room names and given the tiles multiple sprites for animation. I’ve had to start on a menu/ui module to make things easier to build buttons and text inputs. More on that another time.

Categories
Blog Development Teratree

Sprites and Strings

It took me a while to decide where to start with this refactoring of my code. In the end I decided to work on display stuff. I need a way to draw my game in a ZX Spectrum style.

Display

The display of the ZX Spectrum was 256×192 with a border to fill the rest of the screen. I want to keep that resolution but have it scale to the window size.

function display:scale()
    local winx,winy = love.window.getMode()
    local xres, yres = 256, 192
    
    local xscale = winx/xres
    local yscale = winy/yres
    local transx, transy = 0,0
    
    if yscale*xres > winx then
        scale=xscale
        transx, transy = 0, winy/2 - (yres*scale)/2
    else
        scale=yscale
        transx, transy = winx/2 - (xres*scale)/2, 0
    end
    love.graphics.translate(transx, transy)
    love.graphics.scale(scale)
end

I run this at the start of the draw callback and, no matter what size or orientation, the play area scales to the shorter dimension and center on the longer. I may adjust the scale slightly if I want to have a border on all sides but this works for now.

teratree-scaling

Sprites

LOVE can of course draw image files on the screen but I decided I wanted my game to handle sprites in the program. Each sprite will be a 2-dimensional array of bits and when it is drawn you give it the colour of “paper” and “ink”.

ZX Spectrum Colours
ZX Spectrum Colours

The Spectrum has 8 colours, each with a dark or bright variant. I’m using the number to indicate the colour I want and another bit to indicate the “bright” variant. To make this work with LOVE’s setColor function, I do a simple function to convert the number I have into an array of RGB values.

if bright == 1 then
            value = 255
        else
            value = 215
        end
    
        if number == 1 then
            colour = {0,0,value}
        elseif number == 2 then... etc

return colour

Next I parse the 2d array sprite I want to draw. For each pixel I use love.graphics.rectangle to draw a 1×1 square. To save drawing every single pixel I draw a rectangle the size of the sprite with the “paper” colour and then just draw individual pixels for the “ink”.

Test sprites

I want to do some kind of “colour-clash” mode but I’ll probably have to do some kind of shader for that. For now I need to allow a moving sprite to not draw it’s “paper” over the background. If the colour number for the paper is not 0-7, the “paper” rectangle isn’t drawn.

Transparent "paper"

Strings

The final thing today is writing strings with a sprite font. I already had a version of the Spectrum font as binary arrays from the last time I worked on this. I had used a Python PNG library to convert an image of the font into bits. Lots of trial and error on my part. Once I had these sprites I put them into a dictionary list, named for each character. All that was needed then was to take whichever string I wanted, split it using gmatch”.” and printing the corresponding sprite to the screen for each character.

Hello World!

I was missing an exclamation mark… fixed now.

Categories
Blog Development Teratree

Start of Devblog for Teratree: a Miner Willy engine clone.

This year I have started this project 3 times, each time realizing a better way to do it as I learn to use Lua and LÖVE.

I am about to start again, refactoring everything to keep the code clean an expandable. Will I succeed this time? We shall see.

The dream is to have the main project executable standalone with a menu that can load levels, edit worlds and sprites and play the games. All that will be nice and open source, as will any games I make myself with the engine. I will be making versions of MM and JSW too, if nothing else to make sure the engine feels right.

Here are some videos of previous attempts:

Categories
Blog

Youtube Channel

Blue Drava now has a Youtube channel. I’ll be posting the podcasts as a video with a static image for now.

Categories
Blog

First episode up!

Finally completed the first episode and uploaded. The feed seems to work using WordPress’s rss but I only tested with Antennapod on my phone. Let me know if you have troubles.

Categories
Blog

Might actually work…

I borrowed a Zoom H1 from work.

Zoom H1

Now I don’t need to worry about the crappy headset mike. Now I need some content and a place to record.

I was intending to record direct to Ardour which I can do with the Zoom as it can work as a USB mike, however it’s primarily a recorder so I cold take it to the car or where ever is quiet and record there.

As for content, I think I’m going to just give myself a list of topics and blabber on about them, editing afterwards. My work on HPR has mostly been scripted but I found I would just go into autopilot. I am thinking of maybe doing some readings of CC or PD works, including my own.